|
|
|
 |
|
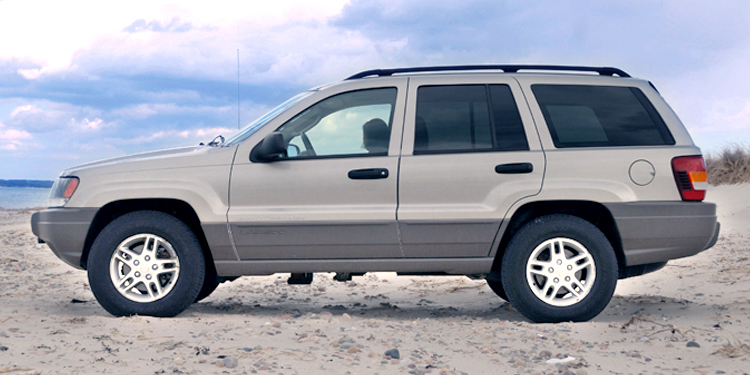
Bone
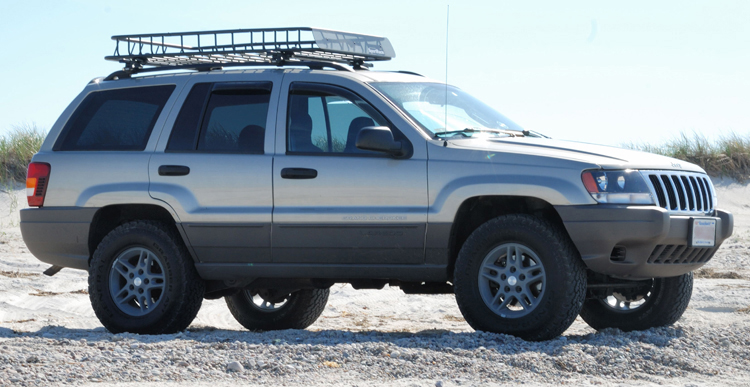
Stock, just the way I bought it off the lot (above) and... |
|
|
|
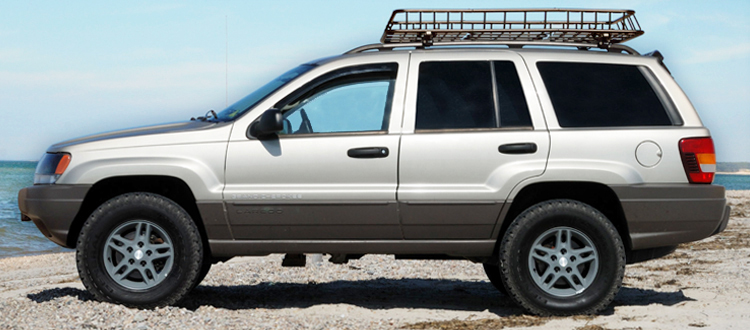
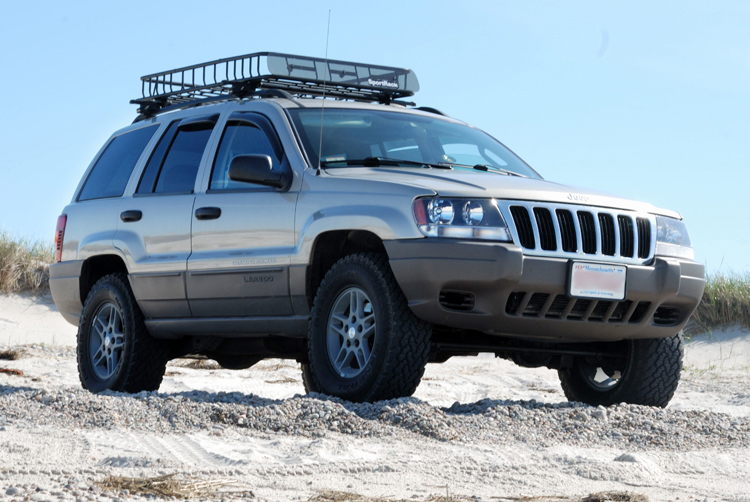
...lifted 2
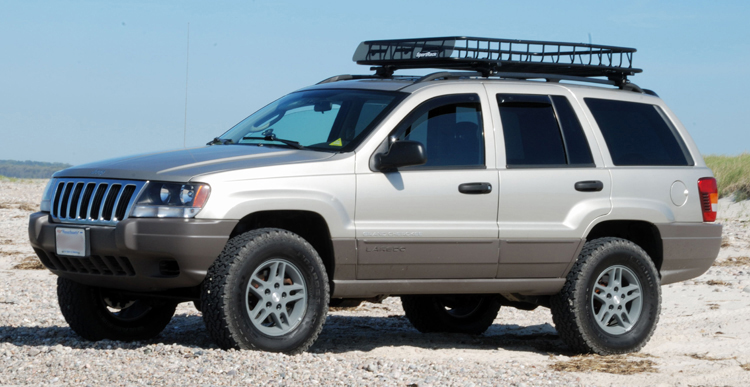
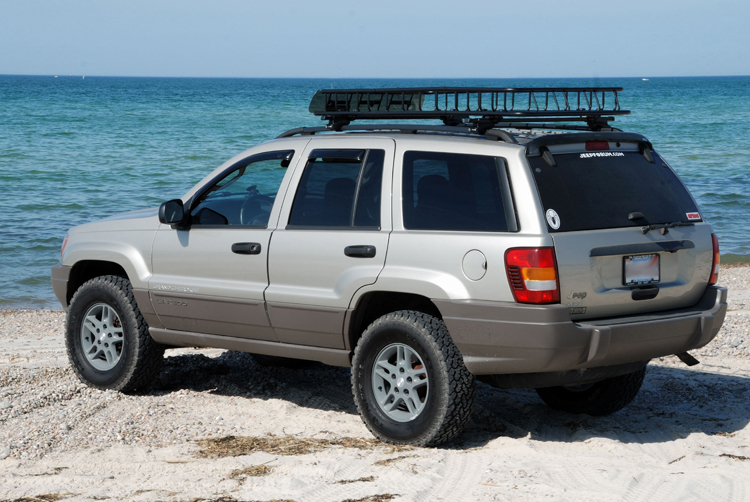
inches, new tires and SportRacks' roof basket installed... |
|
 |
|
I had
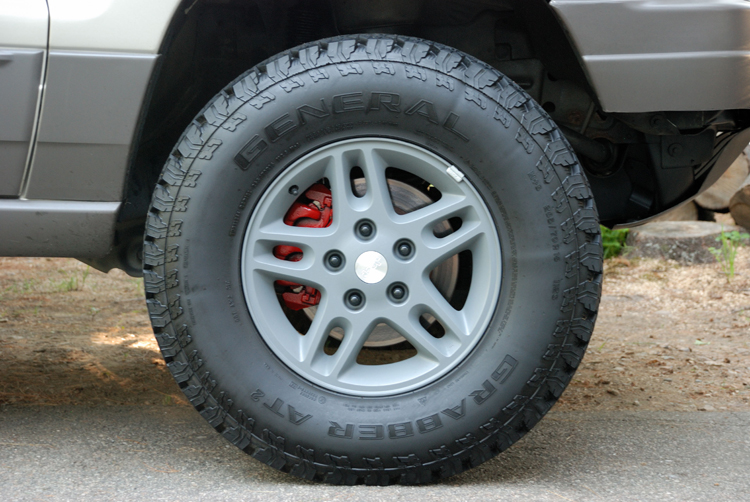
the stock Jeep alloy wheels blasted and powder coated slate gray... |
|
...with
new brushed aluminum center caps
and black lugs! |
|
|
Minor
Lift and Track changes... necessary! |
|
A coworker of mine had a friend
that had a 2004 Grand Cherokee and had purchased a DayStar
2" lift kit but after sitting on it for a while, decided
(with some coaxing from his buddies) to go higher. He never
installed the DayStar Kit... I got it for a song still in
the box! He also has a set of Spidertrax 1.25" wheel
spacers... I bought those too. Thanks Gary... |
| |
|
I decided to tackle the job today
(April 16, 2011)
- the weather was going downhill so there wasn't much else
to do and it was going to stay that way until late morning
on Sunday. I cleared out the garage, backed the "WJ" in and
got started on the front. For an Old Fart like me, I had no
idea what to expect for "time to install" - nothing ever
goes quite right, you know? I jacked up the front and read
the instructions. I had just noticed that Harbor Freight
Tools had their Coil Spring Compressors on Sale last week so
I bought a set knowing this was coming. I could NOT have
done the job without them for sure! Everything was going
well until it came to disconnecting the shocks. |
| |
|
 |
|
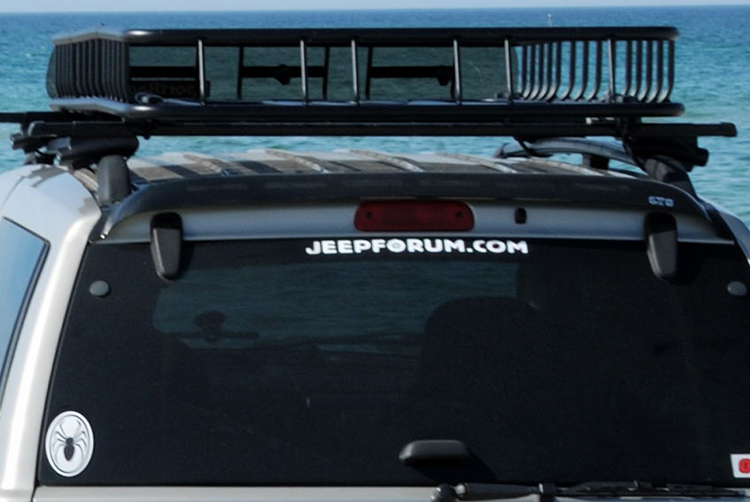
JeepForum.com sticker... another shameless plug! |
| |
|
I had sprayed everything involved
with WD40 a few times before I got going. So what - the
lower shock bolts snapped before I even got a quarter turn
on them. Not a problem - I have a good assortment of bolts.
I removed the other side's shock without incident and
disconnected the Sway Bar links on both sides. The axle
dropped but never really gave me the play I needed to remove
the springs. I had to resort to the spring compressors to
get them off, put the spacers in and re-install the springs.
I reconnected the Sway Bar Links and the shocks and then re-installed the wheels. I let
the jack down and drove it out - Boy, 2" doesn't sound like
a lot but with only the front done, I couldn't see over the
nose driving it down the driveway. |
| |
|
I turned it around and drove it
into the garage this time to get going on the rear. I jacked
it up just like the front and installed the jackstands. I
removed the wheels, disconnected the shocks and track bar
links and dropped the axle down. There was considerably more
play in the back but I still couldn't get the springs out -
MUST BE OLD AGE! The newly purchased spring compressors
saved the day again! I removed and replaced both rear
springs in less than an hour "???" F'n Magic, I guess! I
reconnected the shocks and sway bar links and then replaced the wheels. I dropped the jack
down, cleaned up my tools, put everything away and it was
DARK! It sucks to get really good pictures in the dark so
I decided to wait until we got
back to the beach on Monday, Patriot's Day. Those are what
you'll see on this page. |
|
|
|
 |
|
|
|
Right at
home on the Beach... |
|
|
|
All in all, I really liked the
DayStar Kit - with the new tires, everything came
together nicely. I only wish that I had my new
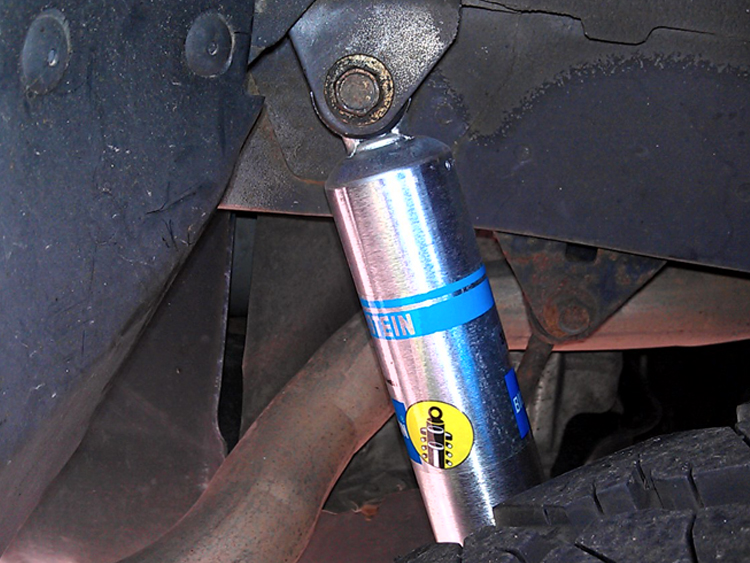
Bilstein 5100 shocks on site while doing the lift.
It would have been much easier to install them at
the same time as one end of each shock was already
being disconnected - Oh well. For new shoes, I sent
my stock alloy wheels to
Bell's Powder Coating in North
Attleboro, MA to have them
blasted and powder coated "Slate Gray" with an
additional coat of "Matte Clear" for extra salt
protection. I also ordered a new set of brushed
aluminum Jeep center caps.
Once
finished, I had
Town Fair Tire in Raynham, MA install a
new set of 265/70R16 General Grabber AT2's on the coated
stock wheels. They installed a fresh set of valve
stems, balanced the wheels and did a full front end
alignment.
The best part of the project - the lift kit took only 5
hours start to finish! |
 |
|
Not
bad for an OLD FART! Hope you like the write up and
I'll update the pictures as soon as any more changes
start to happen. Enjoy... |
|
|
|
|
|
|
 |
|
|
|
She's got
a lot more articulation than my truck, not that it really shows
here. |
|
|
|
 |
|
|
|
|
|
Should be
a big help this summer shuttling guests back and forth to the
camper! |
|
|
|
 |
|
|
|
Much nicer stance with the
Daystar Spacers and the new shoes... |
|
|
|
 |
|
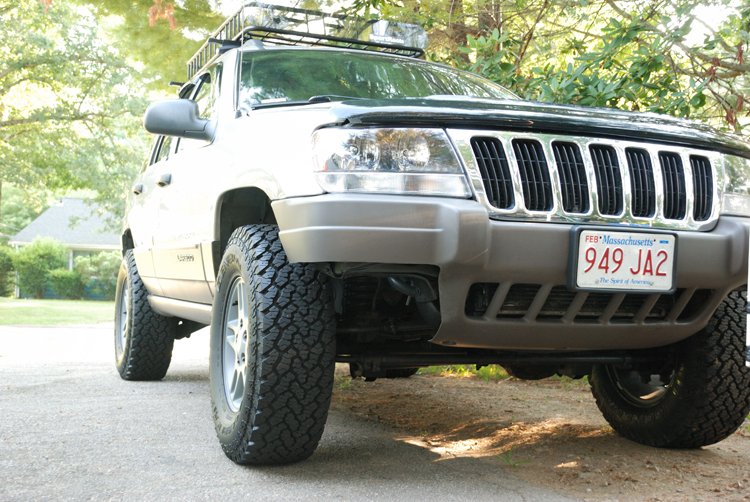
Wide Track
nose view with
a little trim - modified front bumper! |
|
|
|
I'd been reading and trying
to figure out how to get a relatively good looking
front bumper without breaking the bank. The
aftermarket bumper prices aren't as bad as some of the
units available for full size trucks but still command
some pretty serious coin. I have fabricated a couple
of bumpers in my time and have the welding and
fabrication experience as well as the equipment to do
it. However, I am not getting any younger and my time
is at a premium lately. What does that leave for
decent choices? |
|
|
|
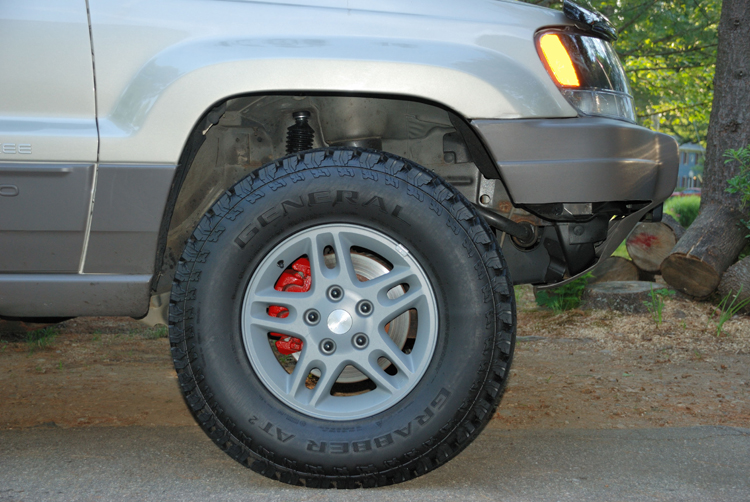
In steps "JerzeyBoyWJ" on
JeepForum.com with his 2003 lifted WJ. He had a very
nice idea and shared it with everyone. I tried it - it cost
me absolutely nothing. It looks more aggressive than
stock and really opens up my approach angle! Now I can
play with a simple brush guard/light bar design that
enhances the cuts I made here. Stay tuned... |
| |
|
 |
|
|
|
With a simple trim, I
gained about 9" of approach angle! |
|
|
|
 |
|
|
|
A better view of the "cornerotomy"...
now, a light bar? |
|
|
|
|
|
 |
|
|
|
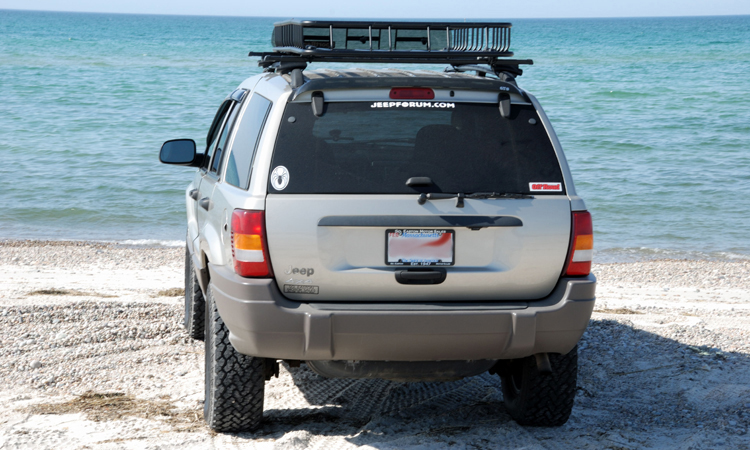
Rear Shot
Lookin' at the Surf... |
|
|
|
 |
|
|
|
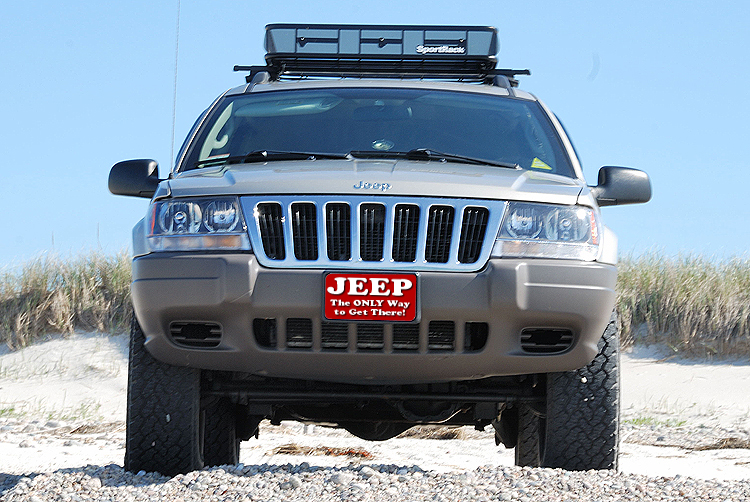
Plover's
Eye View! (Sorry,
local humor) |
|
|
|
|
|
|
|
The NEW SHOES...
great looking tires on the powder coated stock wheels! |
|
|
|
|
|
New Bilstein
5100s on all four corners! |
|
|
|
|
|


