|
New Vinyl |
|
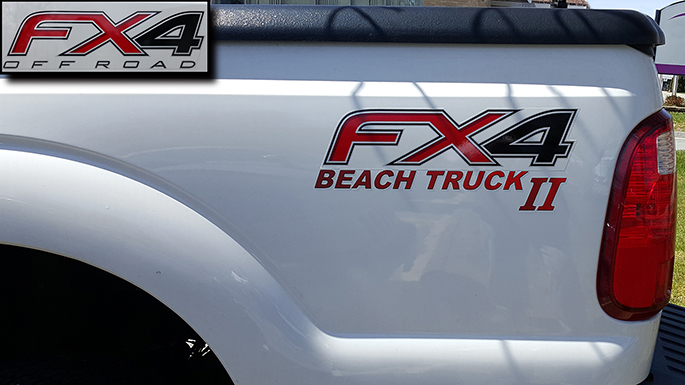
Of course the Ford Logos need to be modified... why
leave well enough alone? |
 |
|
I removed "OFF ROAD" from the FX4 logo and replaced
it with "BEACH TRUCK II" |
 |
|
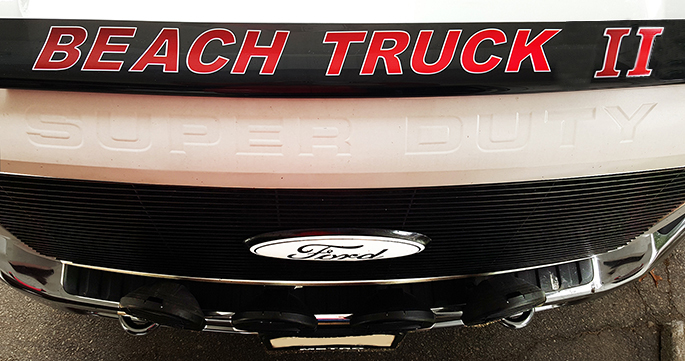
"Beach Truck II" on the Bug Deflector... both thanks
to Signs by Tomorrow - Norton! |
|
|
- 2015 F-350
Projects - |
|
|
Auxiliary Batteries for the Eagle Cap 850 |
 |
|
I have a 2500 watt inverter mounted
in the camper, primarily for use with our
electric coffee maker and our blender (Paula J's
Frozen Banana Mud Slides). After a few attempts last
summer, we found that even the two Trojan Deep
Cycle Solar batteries wouldn't supply enough
reserve to finish a full cycle of the coffee
maker. We ended up using the generator to make
coffee - in tight quarters, the noise of the
generator was objectionable to me. I felt like I
was disturbing our fellow beach campers, even
though I was told the opposite. I did some
reading into increasing my solar power to see if
that would help give the batteries some needed
help. The overwhelming opinion was to increase
battery storage capacity first. I looked into
larger batteries but with larger batteries comes
larger size. The battery compartment on the
Eagle Cap didn't have room for larger batteries.
I decided I could mount a pair of identical
batteries in the bed of the truck and connect
them with #4 cable and a large plug. |
|
I already had a really strong 175 amp Anderson Power
Pole plug that I had bought as a connector for the winch on the
old truck but never used. There's a start! I downloaded the data
sheet on my Trojan 27TMH batteries to get some dimensions. I
then did some measurements in the truck bed. This will work, I
thought. I picked up some 1.5" angle iron and some .75" square
steel tubing at Home Depot and began to fabricate my auxiliary
battery tray. After completion, I sanded everything down,
cleaned and sprayed it with 2 coats of Rustoleum primer and 3
coats of Rustoleum Semi-Gloss black. I let the tray and brackets
dry overnight and started fresh the next day. I was able to use
the bolts from one of the factory tie-down hooks as my front
mounting point and drilled a single hole in the bed for the rear
point. I mounted everything and tightened it all up then called
it a day. |
|
My friend Sean was heading up to Truck Camper Warehouse
to have some minor warranty issues addressed on his new Eagle
Cap 1160 so I rode up with him and got my auxiliary batteries.
Sean actually bought a set too as his Diehards were almost nine
years old. I brought the new units home and got them mounted and
cabled before it got dark. I took the connector cables from the
truck and from the camper, inside and soldered the Anderson
Power Pole ends on in the comfort of my workshop, sitting down.
The next morning, I went out and installed the truck connector
cable and it's half of the big plug - I actually bolted it to
the front of the bed so it would be easier to plug into. I then
mounted the camper end, up through one of the battery box drain
ports and to the outboard camper battery. I tightened all
battery connections on all 4 batteries and then backed the truck
back under the camper. I checked the battery voltage in the
camper, disconnected the house power and I was ready. I left the
camper battery compartment open so I could see any issues as I
plugged the new Anderson Power Pole into the truck. Everything
went together fine with no issues. |
|
One final test before plugging the house power back in -
capacity check! I turned on all the camper inside lights and the
Fantastic Fan, then loaded the coffee pot with 12 cups of water.
I plugged it in, turned on the inverter and turned on the pot...
14 minutes later, the pot was brewed (just hot water - no
coffee) and my battery voltage was reading 12.6 volts. That's
what I wanted to see... the Solar Panel was only giving about
0.4 amps too as there was no sun! Nothing like a project that
does what you had hoped it would do. Now we'll check it over the
course of a few days on the beach and see if the single 140 watt
solar will keep us going or if I need to add a 2nd panel.
Hopefully, I'm done... that was fun! Check out the pictures
below. |
 |
|
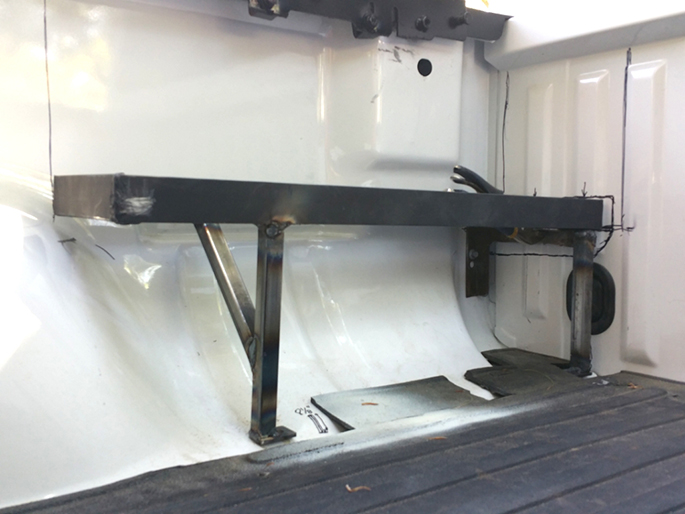
1.5" Angle Iron with 0.75" square tubing legs,
welded and test fitted. |
 |
|
All fits nicely... actually made cardboard dummy
batteries to make sure. |
 |
|
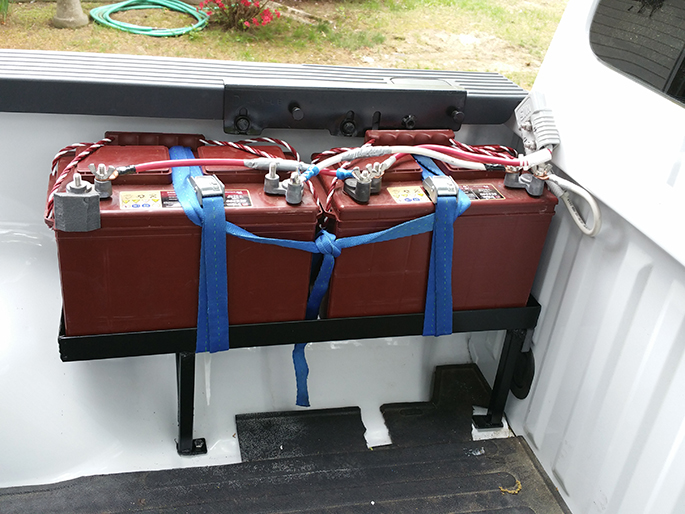
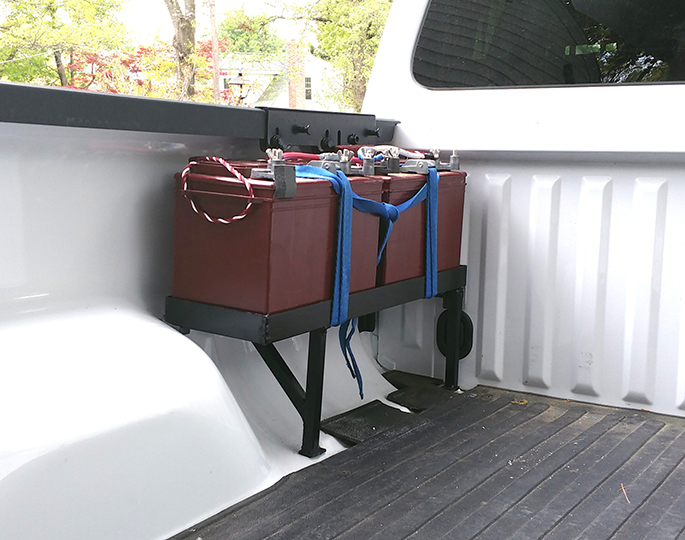
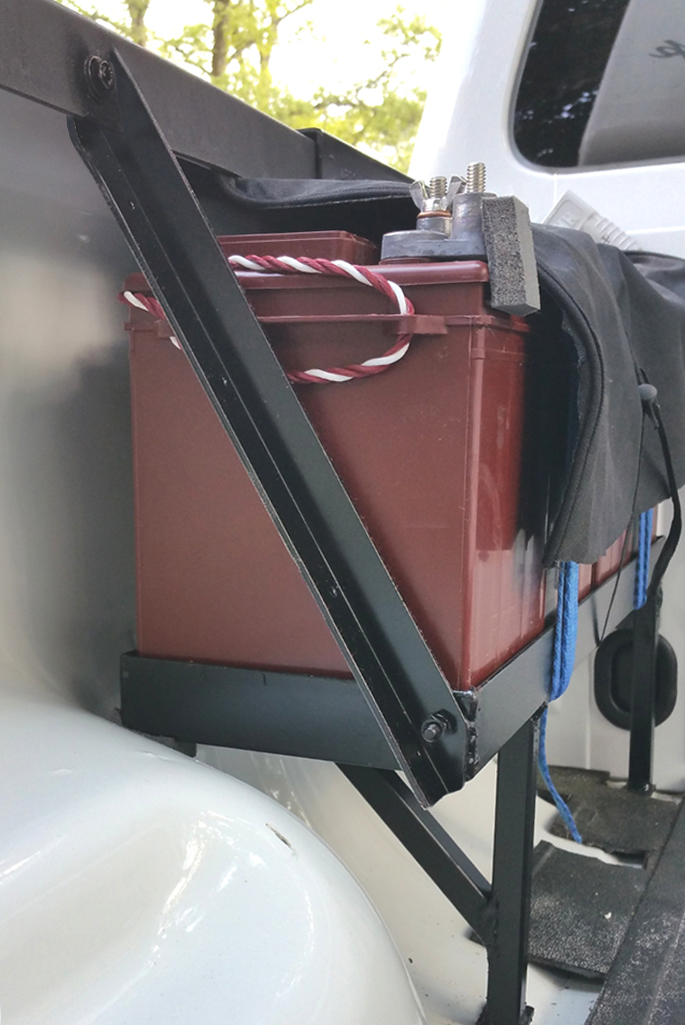
Batteries in place, cabled and strapped down... |
 |
|
...leaving about 2.5" clearance to the camper side
wall. |
 |
|
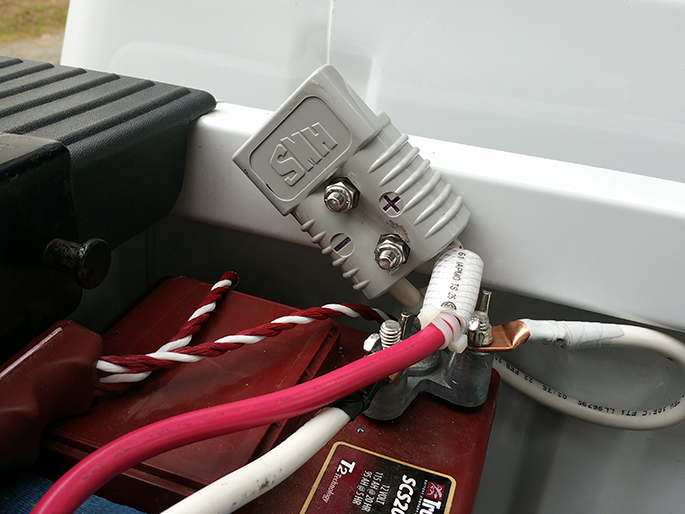
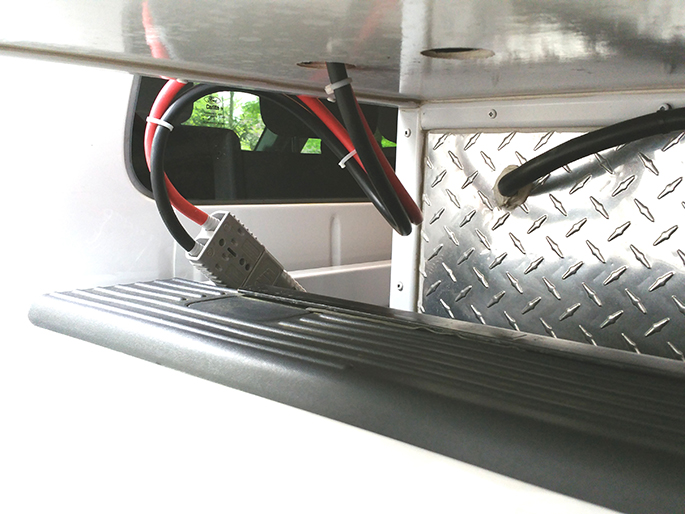
There's the truck half of the 175 amp Anderson Plug,
bolted in place for convenience. |
 |
|
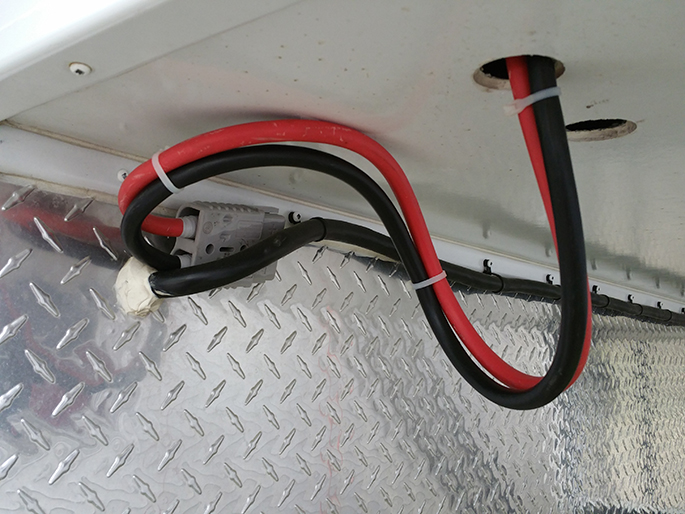
There's the Camper half of the connection, dropping
down through one of the drain holes. |
 |
|
Camper in place and plugged in... double
capacity!!! |
 |
|
After much thought, I added the
diagonal brace above. Just before I put the camper back on, I gave the
rear battery a soft kick and it shook a bit side to side. I
wasn't too happy with that and was worried that on a good bump or
pot hole, the batteries could bang against the side (aluminum
diamond plate) of the camper and short. I pulled the truck back
out and added this Sunday afternoon - it's not going anywhere. I can sleep
better now! |
|
Update - July 15, 2015 |
|
O.K., it's been a couple of months and a few
camping trips now... I have to say "It Worked"! The single 140
watt solar panel is keeping all four batteries charged very
nicely. We have spent several 4 night/5 day trips on the beach
and operated solely on battery power. A few of those days were
pretty cloudy too... still doing the job. The batteries run all
of the DC equipment as well as my 2000 watt inverter. We
primarily use the inverter for the coffee pot in the morning so
it's not a long term draw. The panel, on a good, sunny beach day
has been showing as much as 14.6 volts and pumping 5.8 - 6.0
amps back into the batteries. I wish now that I had wired the
inverter back into the AC circuitry of the camper with a
switchover relay. We could have probably used it for other
things besides the coffee pot. I have a simple power cord under
the kitchen sink that we plug the coffee pot into. Well, that's
it... hope this was interesting to someone. |
|
|
|
|
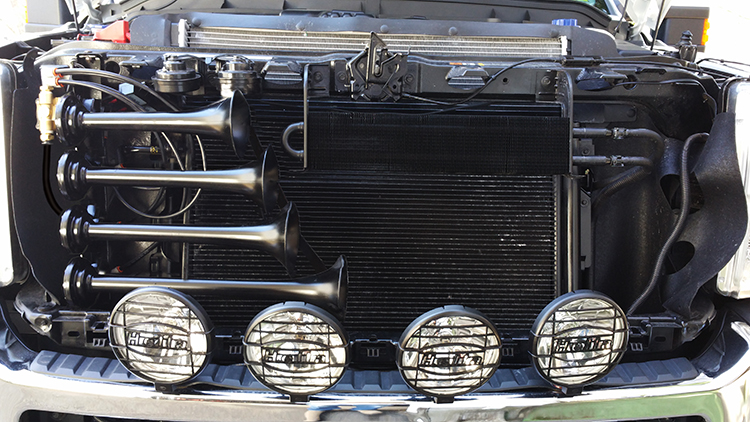
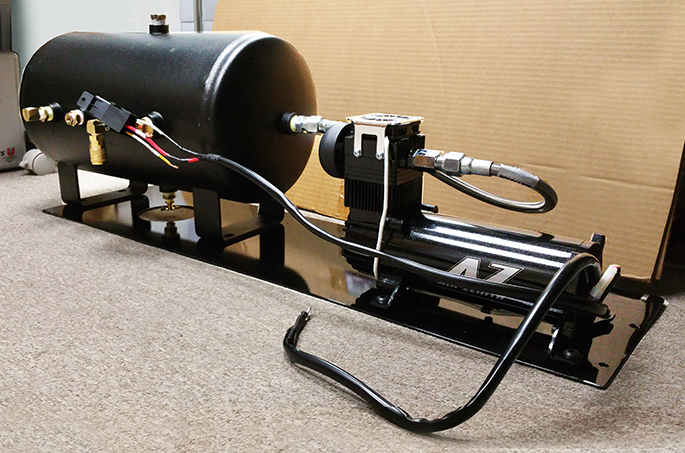
- Air Compressor, 5 Gallon Tank and Shocker XL Horns - |
|
|
As was the case with my '08 F250, I decided to install a
HornBlasters compressor, tank and air horns on the new truck. I
was able to use a few parts from the old truck but opted for a
new, higher output compressor with this installation. I also had
an issue where the old horns had corroded themselves to their
aluminum mounting plate. I could NOT get them off so I ordered a
new set. |
|
|
 |
|
|
 |
|
|
|
|
|
|